Quick start
From the setup token to your first website with a Let's Encrypt certificate, then a second server connected to the panel.
This walkthrough takes a freshly installed panel to a live website with HTTPS. It assumes you have run the installer and have its setup token, and that you own a domain whose DNS you can change.
Create the owner account
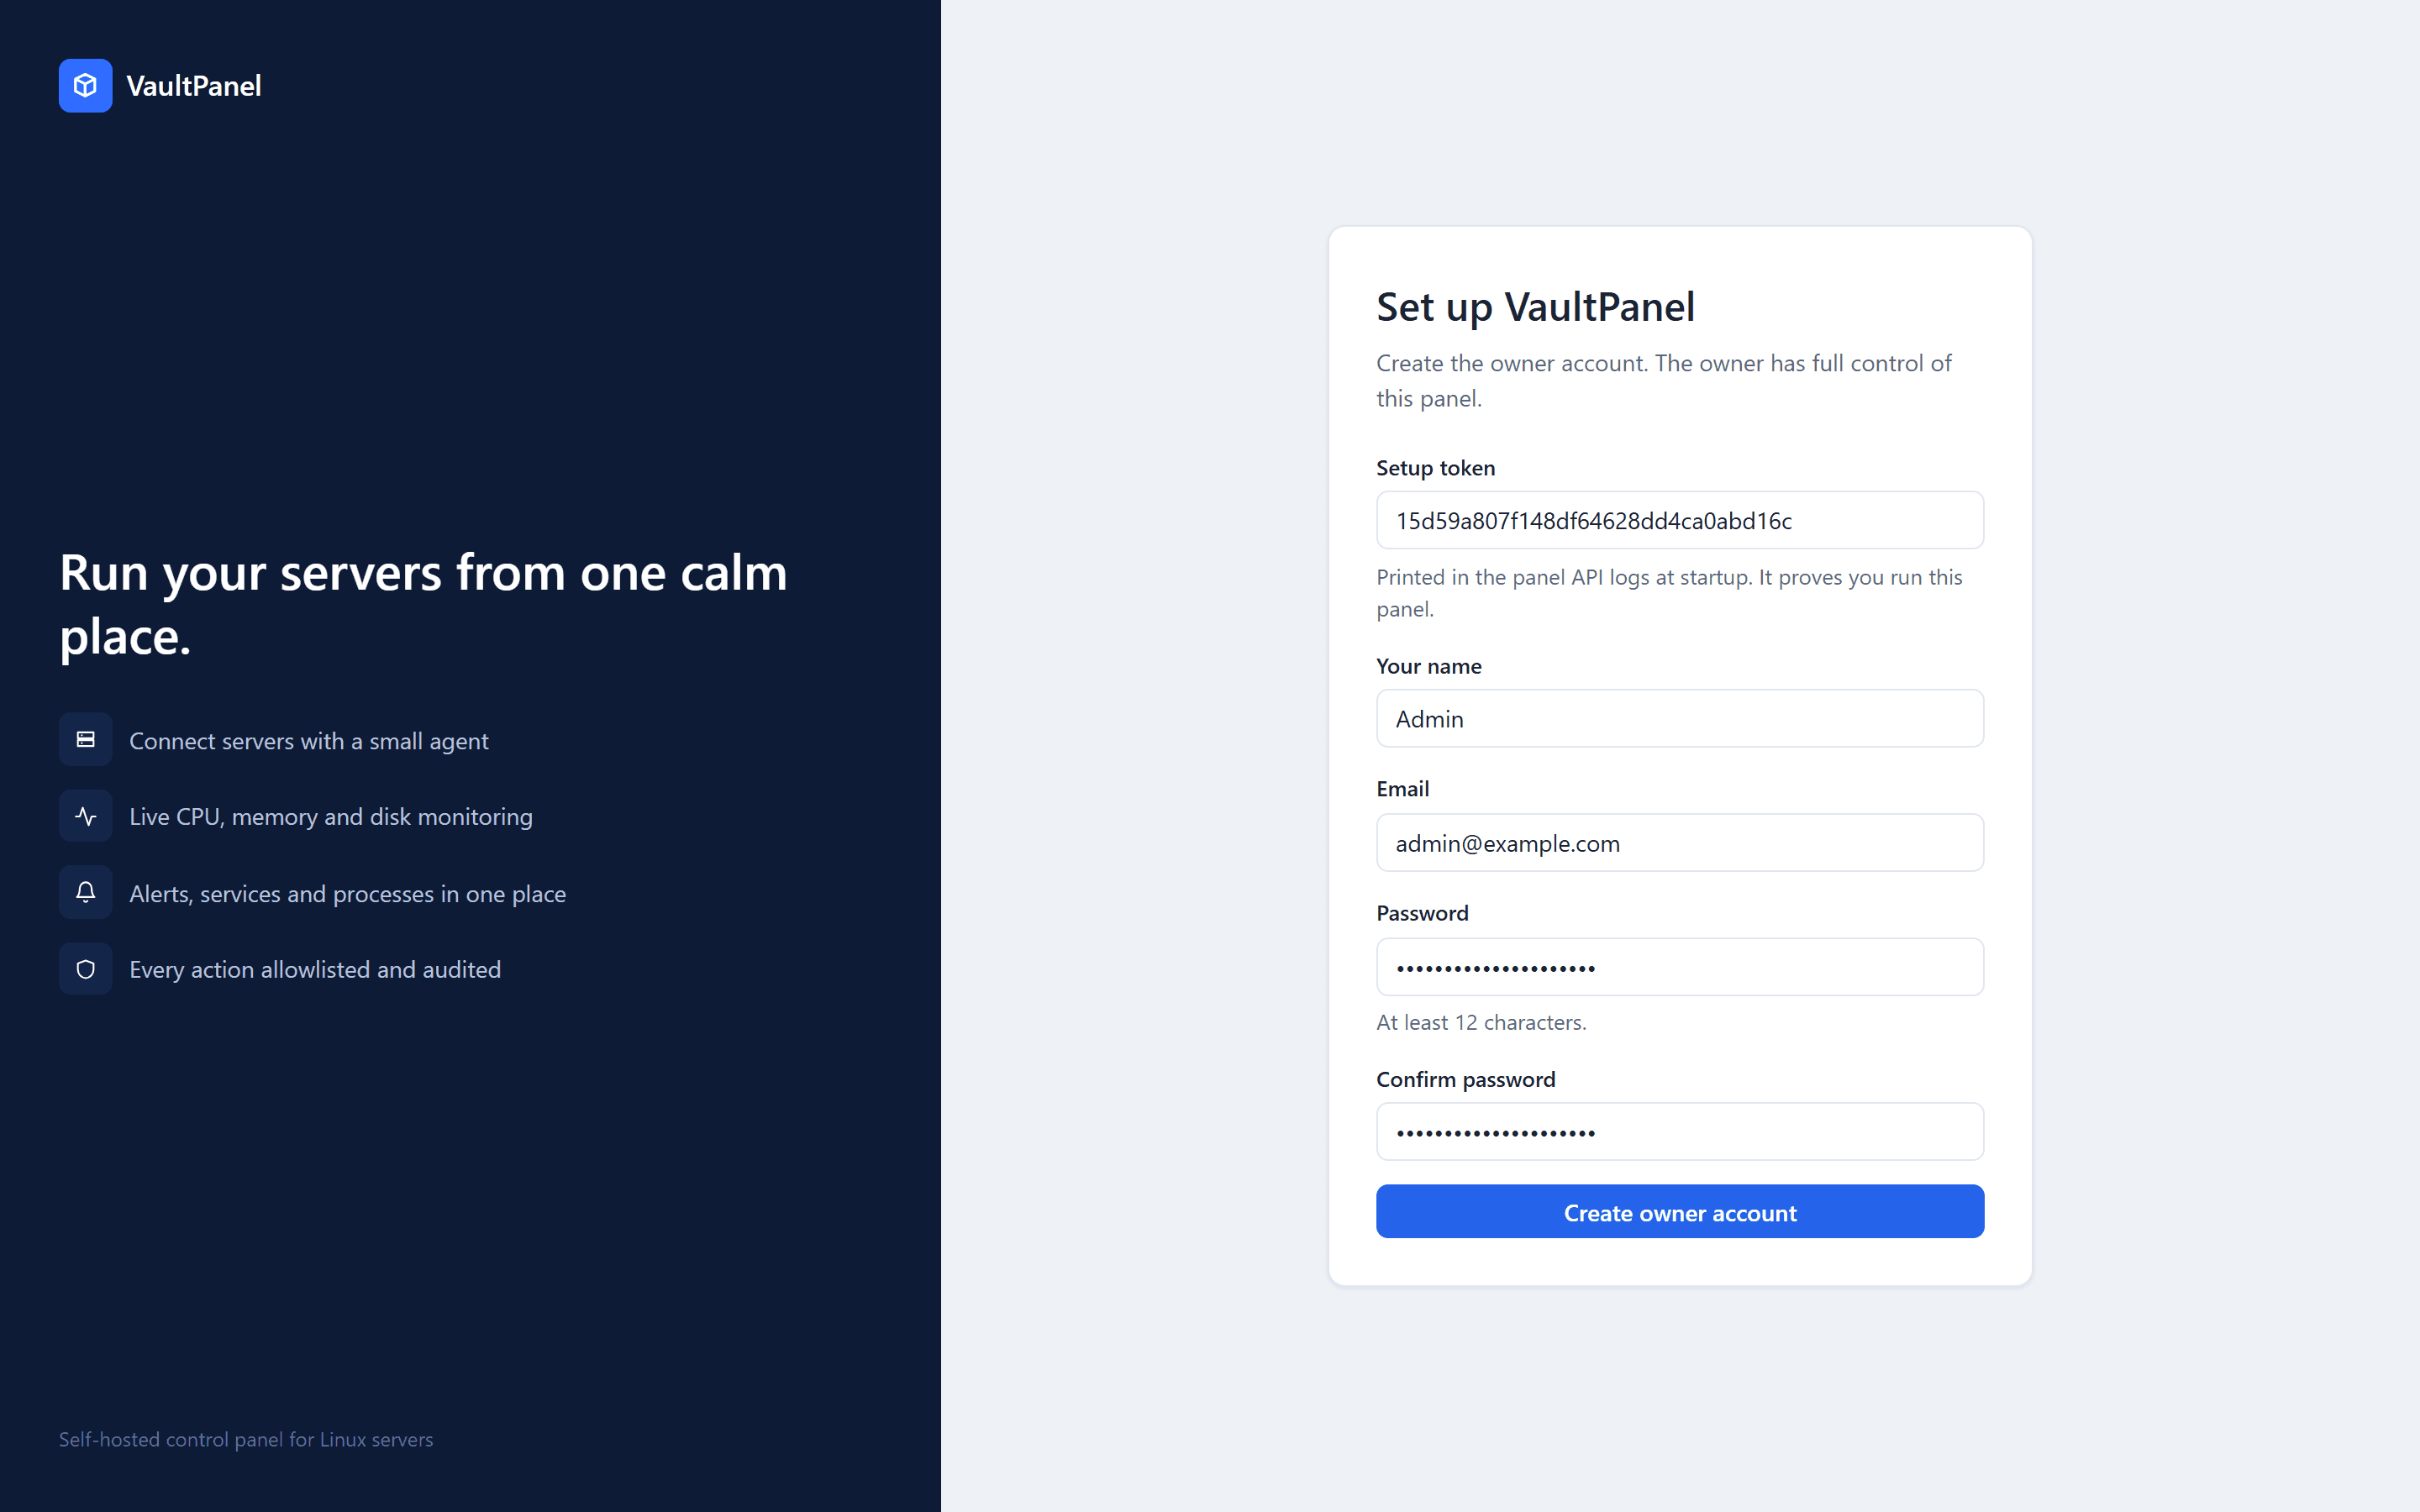
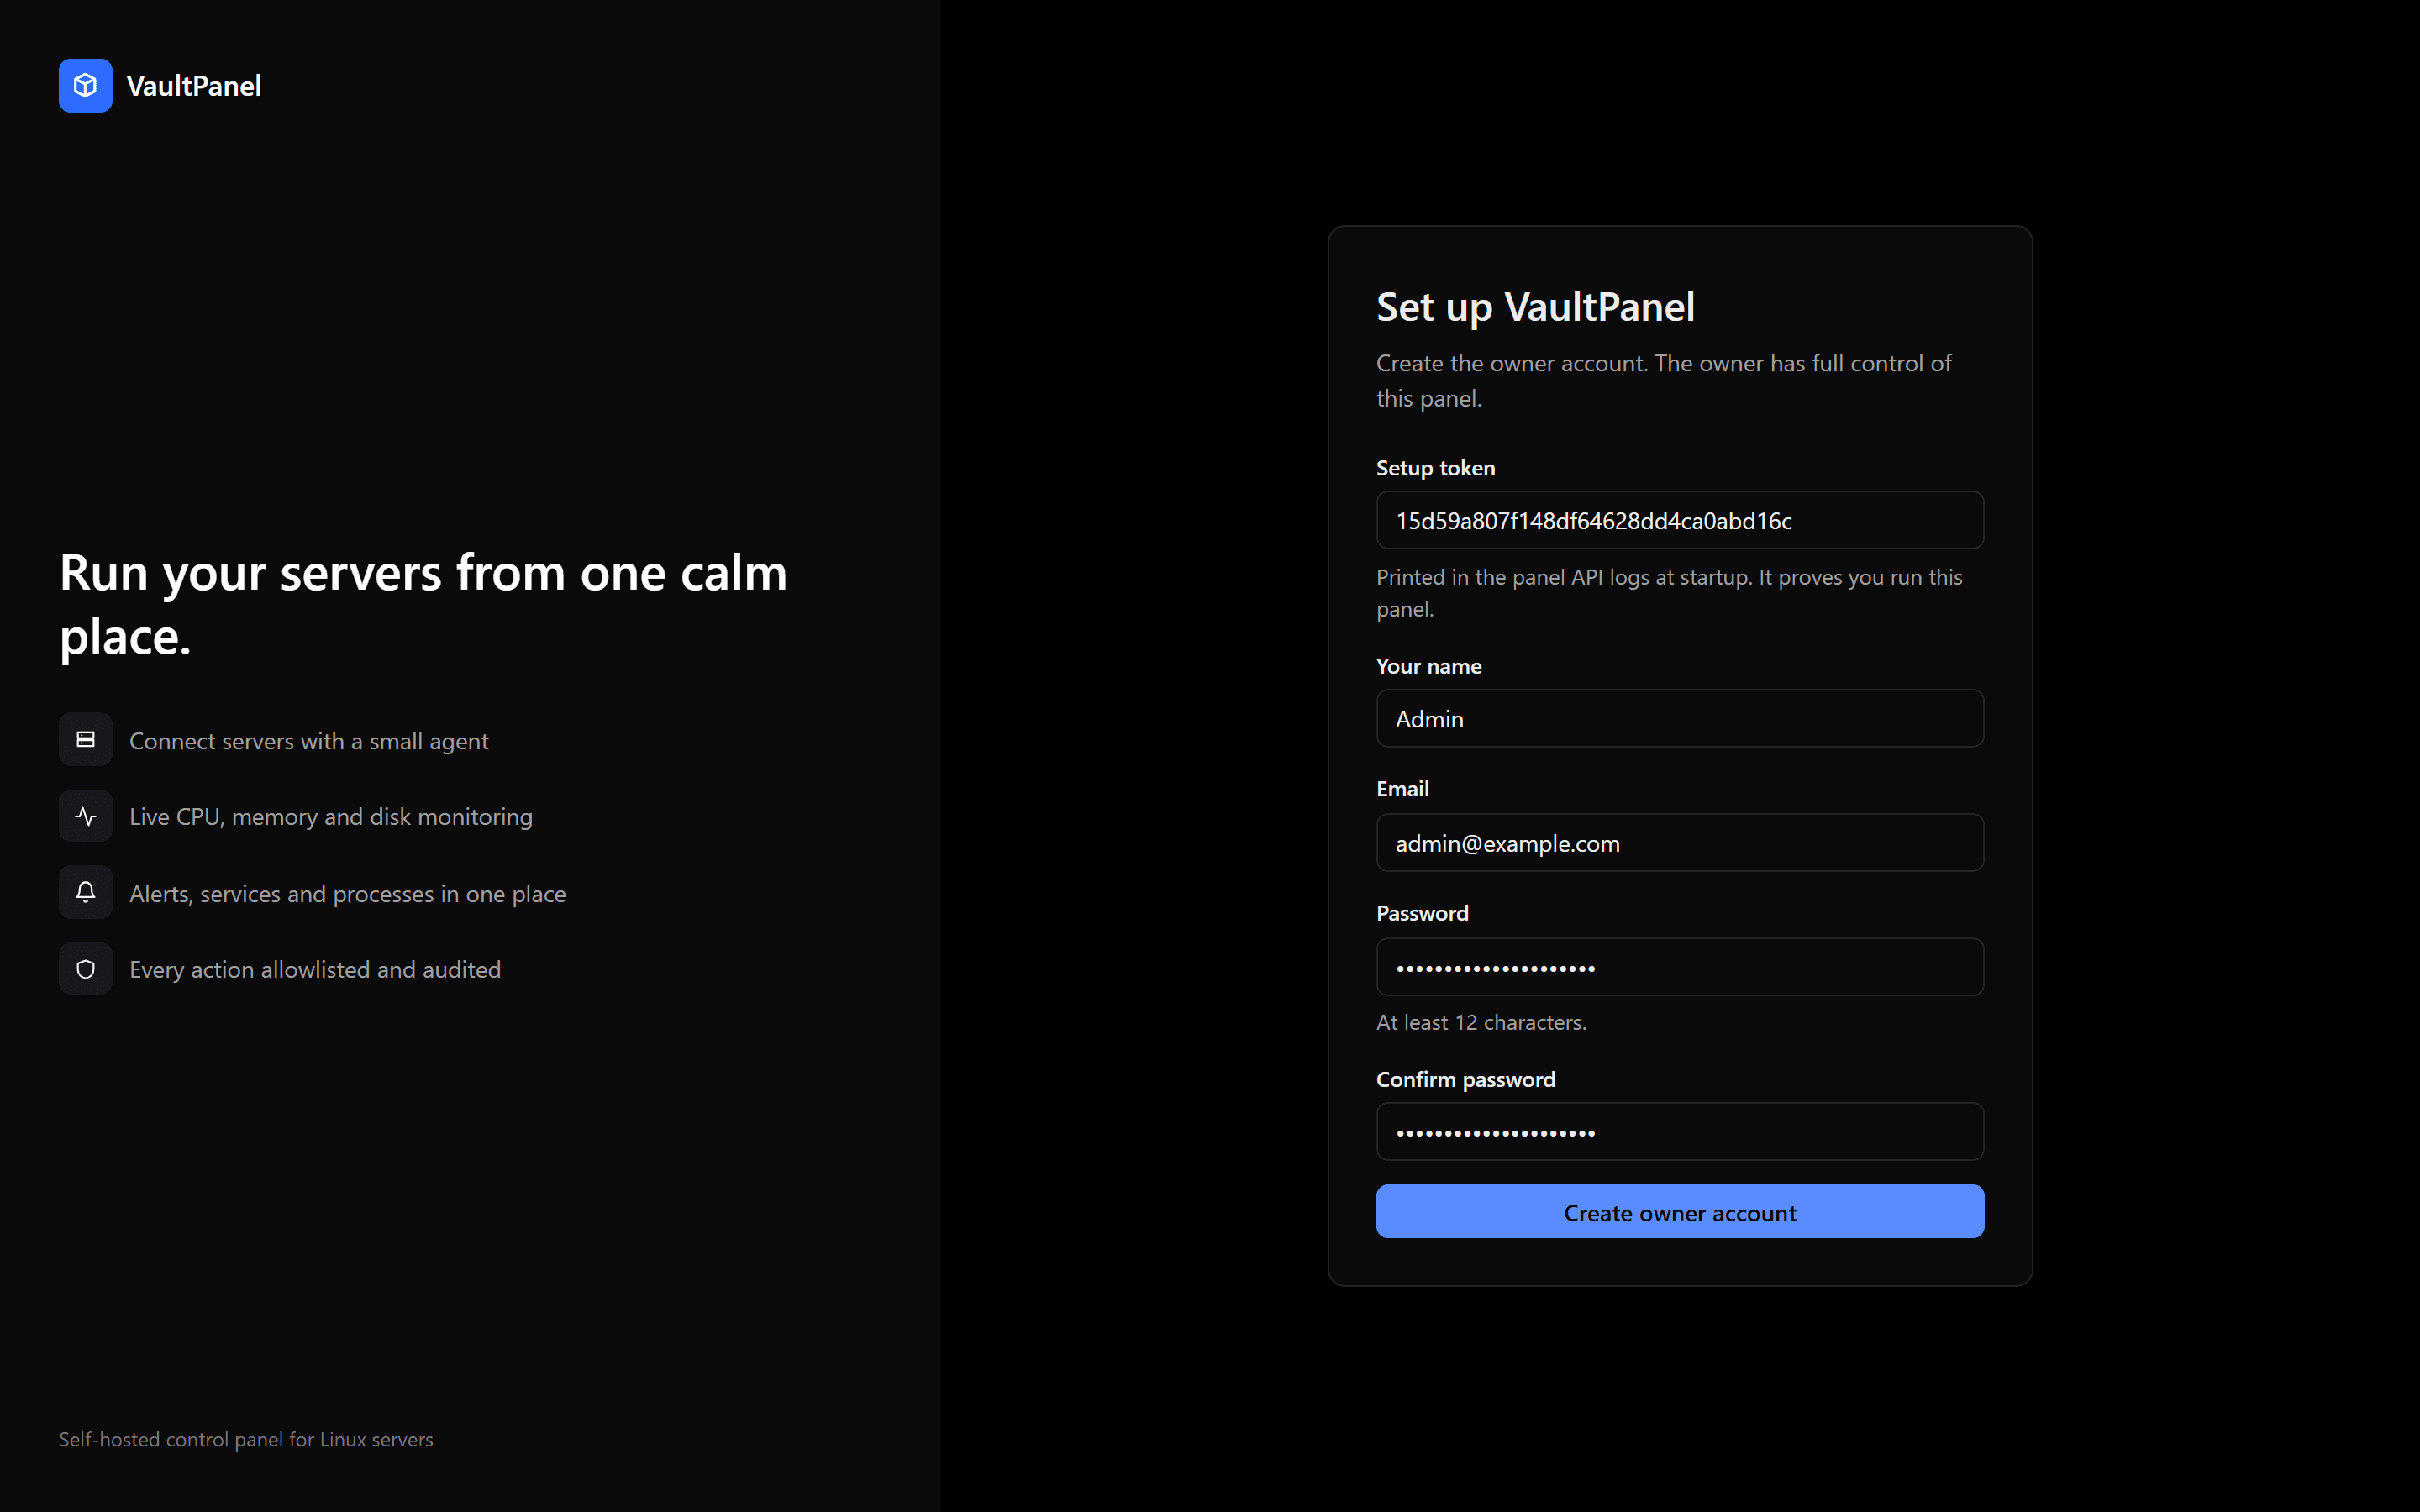
Open the address the installer printed, ending in /setup. Under Set up VaultPanel, fill in:
- Setup token: the token the installer printed (
sudo vaultpanel setup-tokenshows it again), - Your name and Email,
- Password (at least 12 characters) and Confirm password.
Click Create owner account. The owner has full control of the panel, and the setup token stops working.
Turn on two-factor sign-in
Recommended for the owner. Open the account menu in the top-right corner, choose Account & security, then Set up two-factor sign-in. Add the Setup key to your authenticator app (or use Open in authenticator app on a phone), enter the Code from the app and click Turn on.
Save the recovery codes the panel shows next: they are the way back in if you lose your phone. See sign-in and two-factor for policies that require it for everyone.
Find the panel's own server
Open Infrastructure > Servers. The server the panel runs on is already connected, marked This server, with its metrics updating. Click it to see its overview, services, processes and the rest.
Install the web stack
Websites need NGINX, and HTTPS needs Certbot. On the server's page, open the Websites tab. The Web stack card lists NGINX, PHP-FPM and Certbot with their state.
Click Install all missing (or Install next to one of them) and confirm. The agent installs the packages with apt, which takes a few minutes; you can follow the job as it runs. NGINX starts serving a default page on port 80 once installed.
Point your domain at the server
At your DNS provider, add an A record for your domain (for example example.com, and www.example.com if you want it) pointing at the server's public IP address. Make sure ports 80 and 443 are open in any firewall in front of the server.
DNS changes can take a while to reach everyone. You can create the website now and issue the certificate once the domain resolves.
Create the website
Open Web > Websites and click New website:
| Field | What to enter |
|---|---|
| Server | This server, or another connected server. |
| Type | Static site (files served as they are), PHP site (PHP-FPM, running as the site user) or Reverse proxy (forwards requests to an app on a local port). |
| Domain | example.com |
| Site name | Filled in from the domain. It is also the Linux user and folder name, and cannot be changed later. |
| More domains | Optional, one per line, such as www.example.com. |
| PHP version | PHP sites only. |
| App port | Reverse proxies only: requests go to 127.0.0.1 on this port. |
| Document root | Static and PHP sites: the folder inside the site that is served. |
Click Create website. VaultPanel creates a Linux user and folder for the site, configures NGINX (and PHP-FPM for PHP sites), then checks that the site answers.
Turn on HTTPS
Open the website and its SSL tab. With Let’s Encrypt selected:
- Check Email for Let’s Encrypt: Let's Encrypt writes there if a renewal ever fails.
- Keep Redirect HTTP to HTTPS and Check domains first ticked. The check confirms each domain reaches this server before asking Let's Encrypt, so a DNS mistake does not count against its rate limits.
- Optionally tick Use the Let’s Encrypt staging service to try the setup with a test certificate first.
- Click Issue certificate.
Certbot renews the certificate automatically. SSL certificates covers wildcard and uploaded certificates.
Upload your site
Use the website's Files tab or Data & Files > File Manager to upload files, or deploy from Git. To run an app behind the site instead, see Applications.
Connect another server
On Infrastructure > Servers, click Add server, give it a Name and click Add server. The panel shows an Install command:
curl -fsSL --pinnedpubkey 'sha256//…' -k https://203.0.113.10:8090/api/v1/agent/install.sh \
  | sudo bash -s -- --panel https://203.0.113.10:8090 --token vpe_… --panel-pin 'sha256//…'
Run it on the other server as root. That server needs systemd on x86-64 or arm64; the agent is one program and needs no Node.js. The token works once and expires after 60 minutes by default; create a new one from the server's Settings tab if it runs out. With a self-signed panel certificate the command carries its public key pin, so the agent trusts exactly your panel's certificate. Connecting servers has the details.
Next steps